Automatic Game Art for Your Cabinet, Powered by the NeoSD Pro
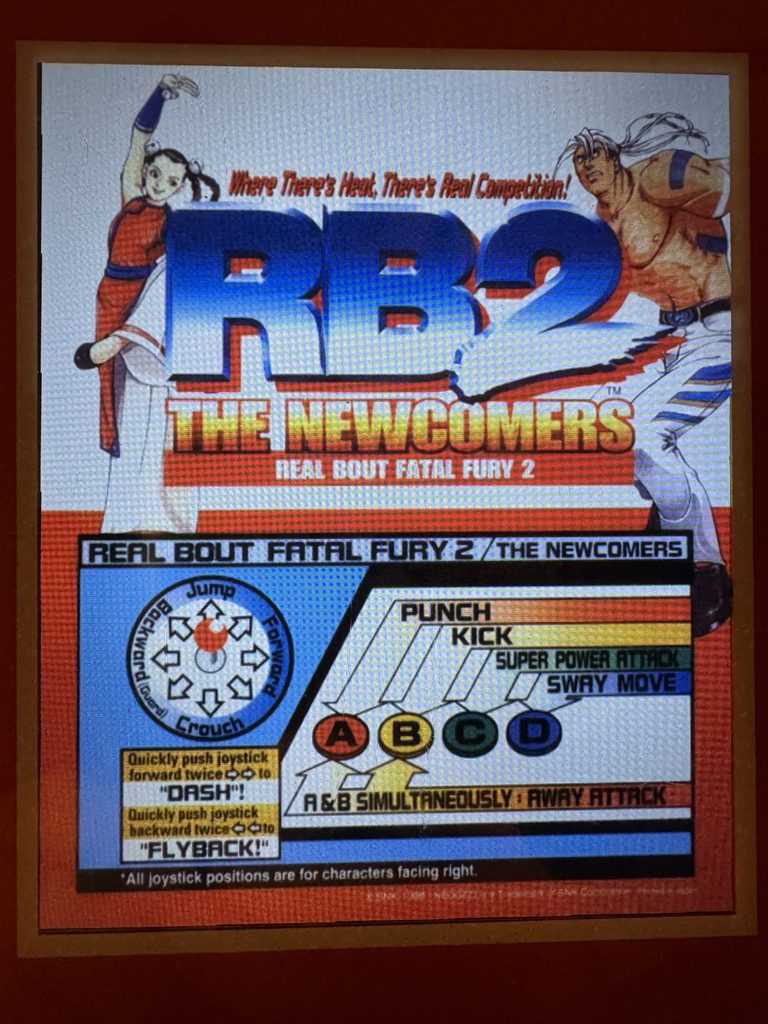
I built something this summer that I honestly wasn’t sure I’d finish: a digital mini marquee for my Neo Geo MVS cabinet that always knows what game is loaded.
It’s called MarqueeMark, and it’s a small LCD panel that replaces the little plastic mini marquee card behind your cabinet’s plexi. If you’re running a TerraOnion NeoSD Pro in your one-slot or two-slot and you’ve ever wished the marquee art just matched whatever you’re playing without you touching anything, this Neo Geo MVS digital marquee build is for you. It listens to the NeoSD Pro over USB and swaps the art the instant you load or change a game.
What It Actually Does
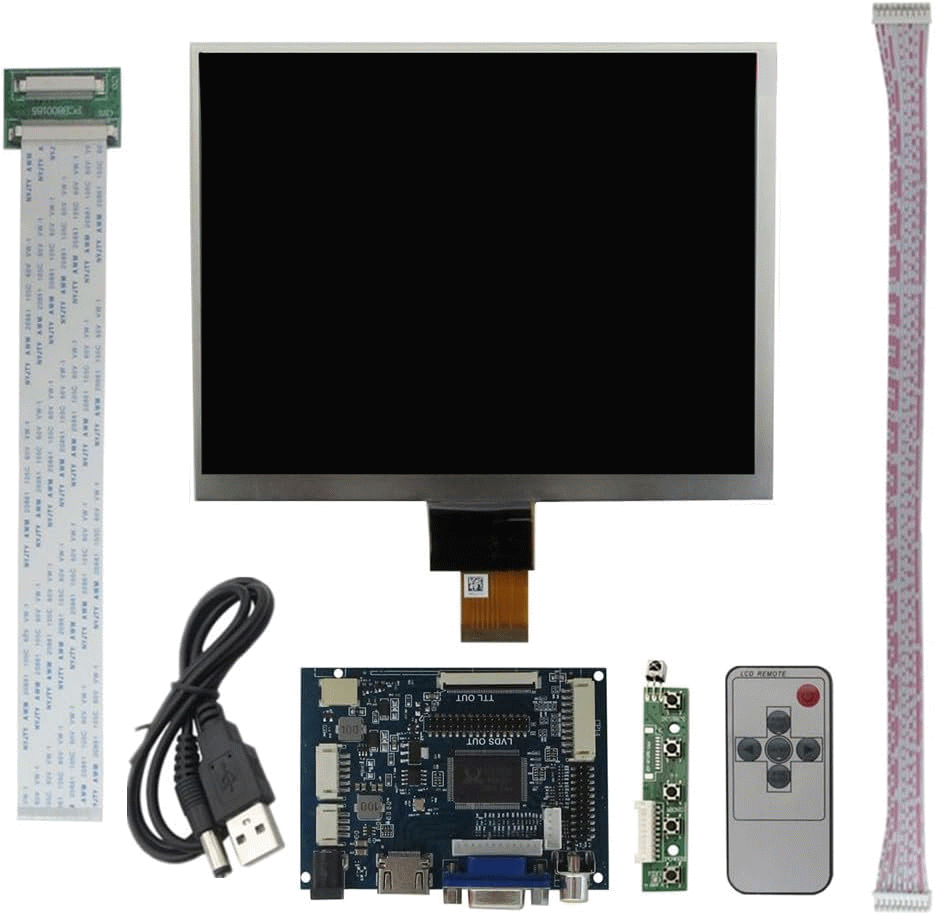
The panel mounts to the back of the marquee plexi with some double-sided tape. No original hardware gets modified, and the whole thing is reversible if you ever want to go back to paper.
Once it’s running, MarqueeMark handles the rest on its own. It detects your game automatically through the NeoSD Pro’s USB connection and fades the new art in smoothly, even when you’re switching between virtual slots on the cart. It’s power-cycle aware too. The cart always boots to Flash Slot 1 after you power the cabinet off, and MarqueeMark shows the correct art within seconds of powering back on, before you’ve touched a single button. When the cabinet shuts off, the panel’s backlight sleeps right along with it.
There’s also a browser-based OBS overlay built in, so if you stream your cabinet sessions, the current game’s mini marquee art shows up live in the corner of your stream.
How It Reads the Cart
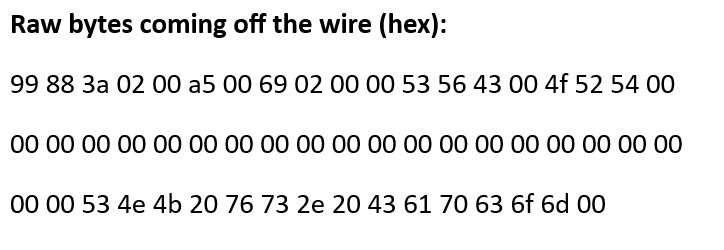
This is the part I’m most proud of. The NeoSD Pro’s USB port shows up as a standard serial device, and whenever a game loads, the cart broadcasts a small data frame with the game’s slot, its library index, and its NGH catalog number. As far as I can tell, this protocol had never been documented before. I reverse-engineered it on real hardware this July specifically for this project.
MarqueeMark itself is just one Python file: a serial listener, a renderer that draws straight to the display, and a small web server that runs the admin page and the OBS overlay. No desktop environment needed. It just runs headless as a background service and survives crashes, USB unplugs, and power cycles without complaint.
What You’ll Need
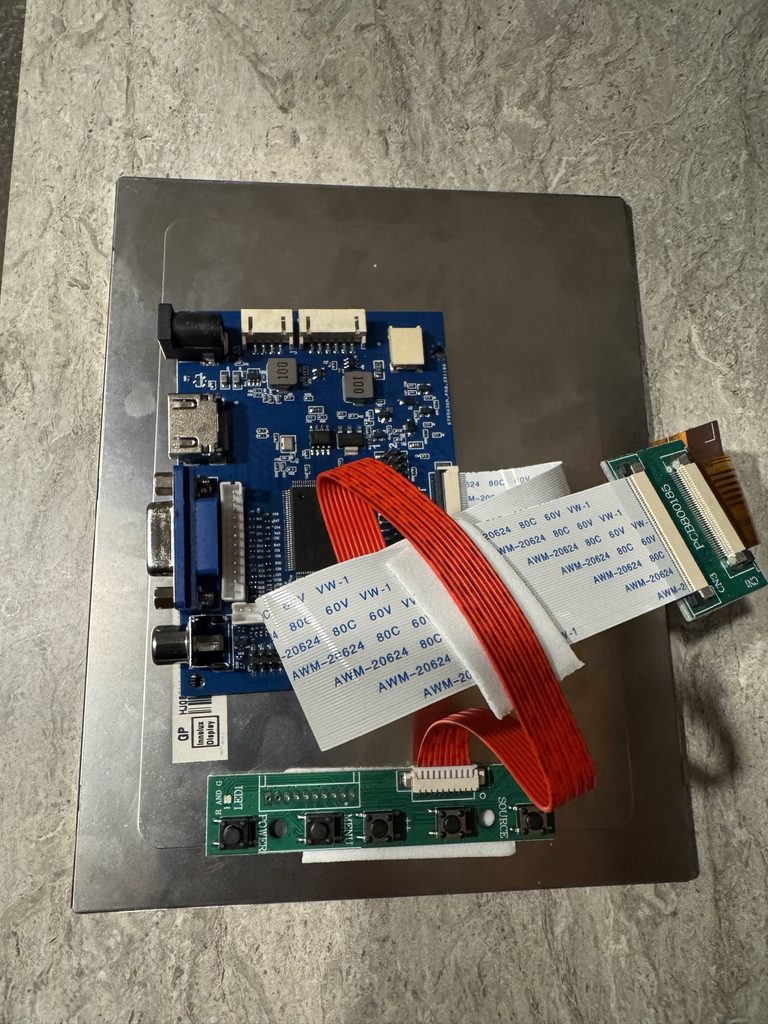
The hardware list is short on purpose. You’re looking at an 8 inch IPS panel kit sized to fit behind the standard mini marquee window, a Raspberry Pi 4 (the 2 GB model is plenty since it’s only rendering images), a USB cable to connect the Pi to the NeoSD Pro, and some double-sided tape for the final mount. Painter’s tape gets you through the alignment phase before you commit.
None of this requires you to know Linux. The quick install flashes the SD card, runs one command, and reboots. After that, everything happens in a browser, calibration included.
Calibrating Is the Fun Part
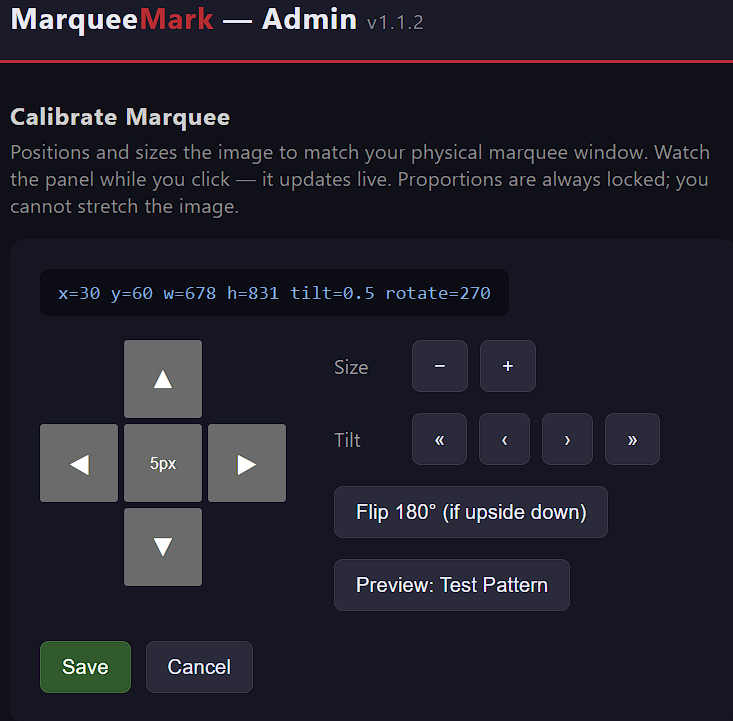
Once the Pi is running, you mount the panel with painter’s tape first, pull up the admin page from any phone or computer on your network, and click Start Calibration. A test pattern appears on the panel and you nudge it into place with on-screen arrow buttons while watching the real marquee window. You can move it, resize it, tilt it if the panel went in slightly crooked, and flip it 180 degrees if it came out upside down. The proportions are locked to the actual mini marquee card dimensions, so there’s no way to accidentally stretch the image.
Once it looks right, you commit the panel with the real tape and do a final touch-up pass.
A Word on Security
The admin page has no password. That’s a deliberate tradeoff to keep setup simple, and it’s a non-issue on a normal home network. Just don’t port-forward this thing or expose it to the internet. It’s meant to live inside your house, not the open web.
Where This Goes Next
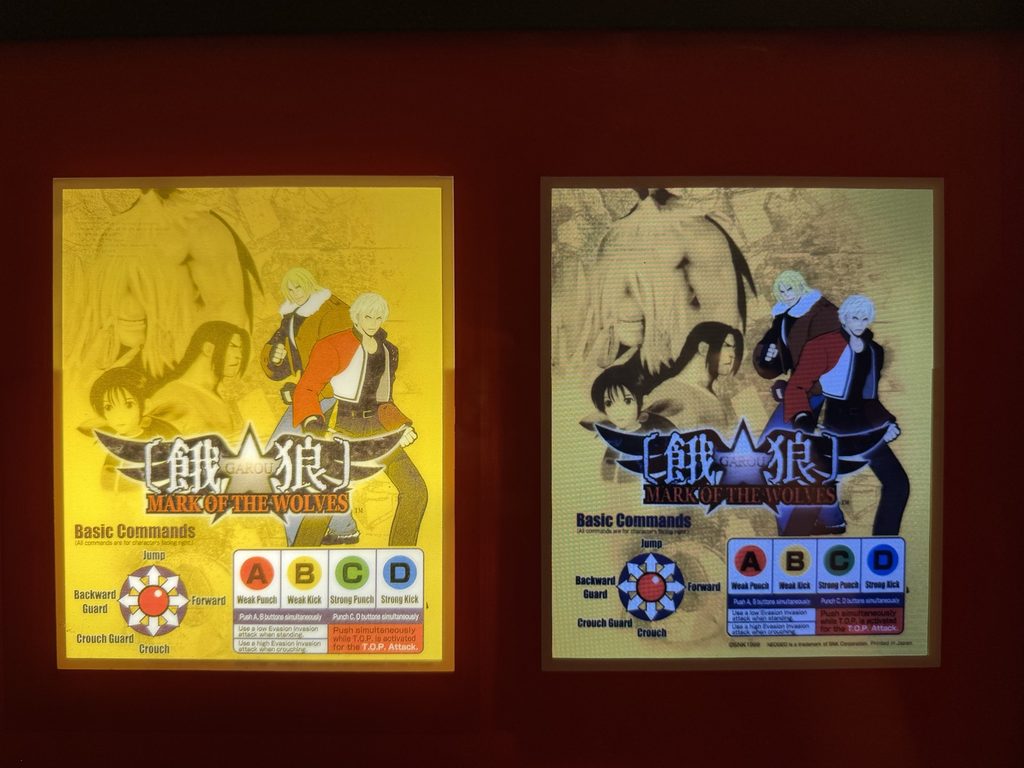
Right now, detection only works with the NeoSD Pro installed, so if you’ve got a real cartridge in the slot, you’ll see generic art. A future version will let you manually assign marquee art for that slot, plus give you on-demand controls to wake and sleep the display. I’m also looking at whether the Pi 4’s second HDMI output could drive a two-panel setup down the road.
This whole build came out of wanting my cabinet to feel a little more alive, and it’s been one of the more satisfying projects I’ve put together for it. If you build one, or if you’ve got questions about your setup, drop a comment. I’d love to see what other MVS owners do with it.
If you want to build your own MarqueeMark, the links below are affiliate links. It costs you nothing extra and helps keep Gamesboro going.
CanaKit Raspberry Pi 4 Starter Kit (2GB)
Oh yeah, and if you want to listen to some sweet Neo Geo tunes while you work on this, check out Neo Geo Nights at 8PM Eastern Sunday through Thursday on Gamesboro Radio.